We shall start our tutorial with creating anyLogistix scenario from scratch. We will create a small chocolate supply chain in Switzerland, allowing us to distribute the new brand of chocolate bars. Then we will extend it to the boarding countries: Austria and Italy.
When creating a new scenario we will use the additional settings to allow anyLogistix generate the required scenario data.
Off we go!
The numbered lists in tutorials are actually checklists. Click the numbers to save your progress!
Create a scenario
-
Click the Add button on the left side of the scenarios ribbon, then select
 Create scenario.
The Create Scenario dialog box will open:
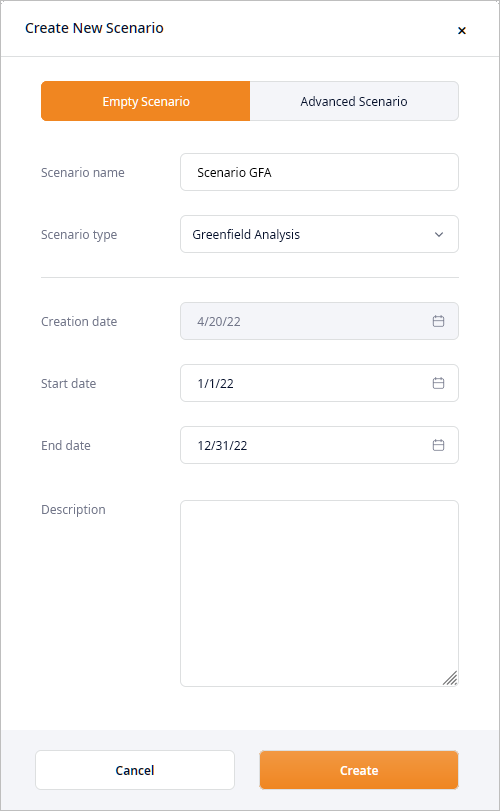
- Type Chocolate Distribution in the Scenario name field.
-
Select the
 label in the Scenario type section to create the scenario of the GFA type.
-
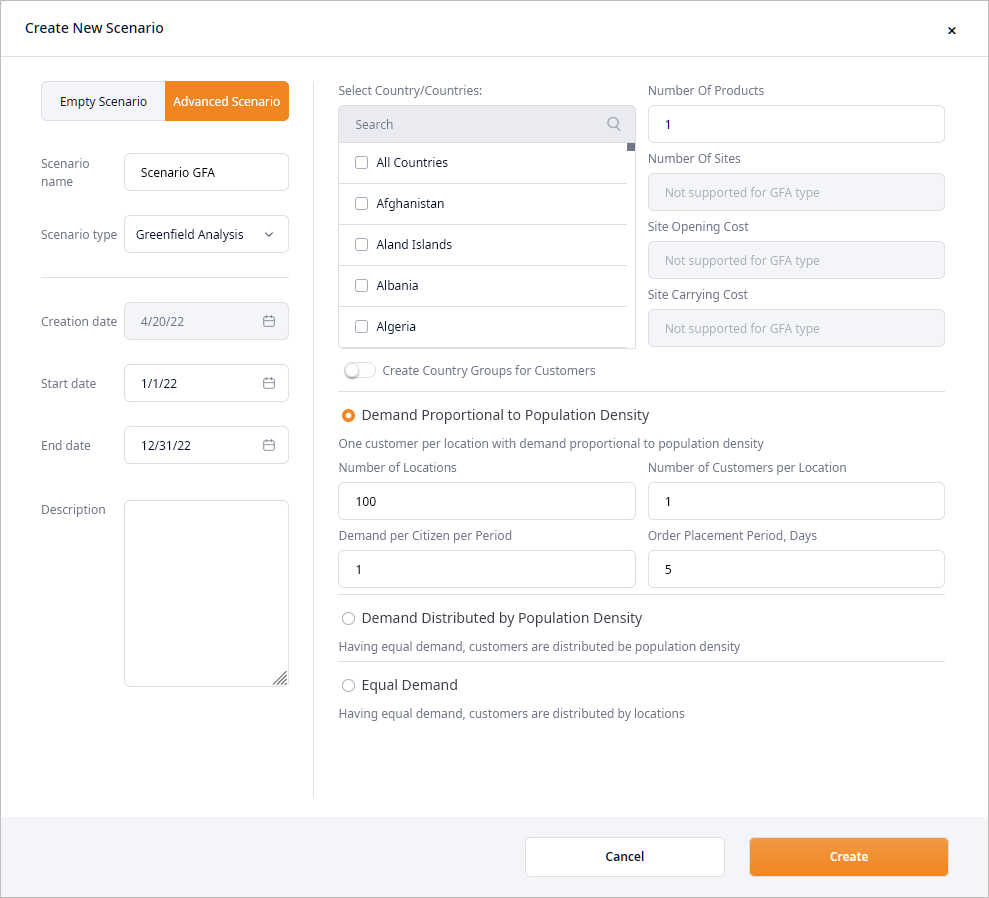
Click the Advanced settings tab to open the additional settings.
We will use these settings to define the data that must be generated for the new scenario.
-
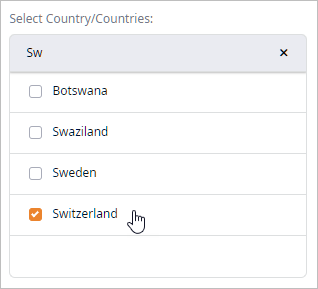
Click the search box in the Select country/countries section and start typing Switzerland to filter the list of countries.
Now select the checkbox next to Switzerland.
- Leave the selected by default Demand proportional to population density data generation type. It will allow anyLogistix to distribute demand based on the population density of the customers’ locations (cities).
-
Set the required Number of locations to 10.
Our supply chain will originally comprise 10 customers.

-
Now set the Demand per citizen per period parameter to 0.014.
We know that annual chocolate consumption in Switzerland constitutes 10.3 kg per capita, which means that every 5 days 0.141 kg of chocolate is ordered per capita (10.3 / 365 * 5 = 0.141 kg). We expect to capture at least 10% of the market with the new chocolate, which would be 0.014.

- We will keep the default value of the Order placement frequency (period), days parameter, since we will assume that our customers order chocolate every 5 days.
-
Click Create. The new scenario will appear in the scenarios ribbon.
Once the new scenario is created, you will see the default anyLogistix Workspace, allowing you to observe:
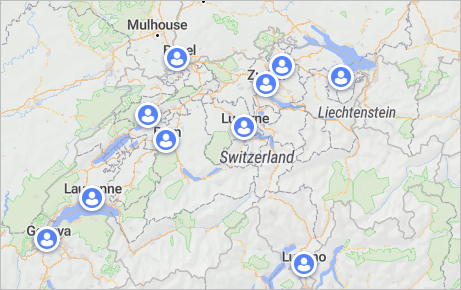
- Map showing locations of customers
- The Basic set of tables containing data generated according to the preciously defined
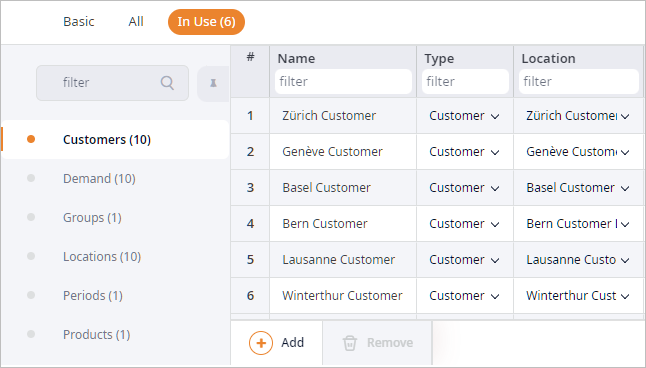
settings. Click the In use tab to see all the currently used tables.
As you can see, anyLogistix generated:
- Customers in the 10 most populated cities of Switzerland.
- Demand for each customer (city), distributed among the citizens based on population density.
- Default product.
Let us have a look at the generated demand
Observe demand
- Click the Demand table to open it.
- Observe the generated data in the Parameters column.
As you can see:
- The demand is periodic, i.e., certain amount of product is ordered every 5 days.
- The ordered amount differs for each city based on its population.

Now we will define the product prior to running the experiment.
Define the product
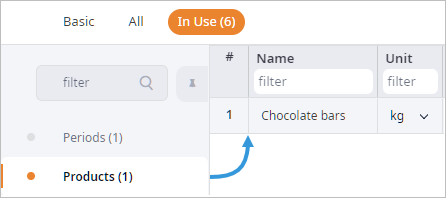
- Navigate to the Products table. You will see the default product.
- Click the Name column cell and rename the product to Chocolate bars.
- Double-click the Unit column cell and select kg.
The specified here product stats unit will affect calculations, since the default measurement unit is m3. Further on we will specify the required unit in the experiment settings.
Now we will set up the experiment and run it.
Set up and run the GFA experiment
- In the experiments section click the GFA experiment tile to open its controls.

- In the expanded tile click the
 Show settings icon to open the experiment's settings.
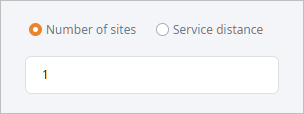
 - Leave the Number of sites parameter set to 1.
We will assume that 1 distribution center will cope with 10 customers.
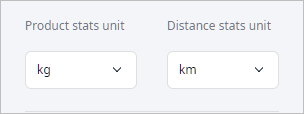
- Set Product stats unit to kg, since we have previously
set our product to be measured in kilograms.
- Now click
 Run on the experiment's tile.
 - Once the experiment is completed, a new Result item will be created below the GFA experiment tile.
You will be automatically taken to the new item's page containing the experiment results.
The result items can be renamed if needed. It might be useful in case of multiple experiment runs, resulting in numerous similarly named items (Result, Result 2, Result 3 ... Result 17).
The map now shows the distribution center (DC), which is created during the GFA execution. It is placed in the most advantageous location considering the scenario data.
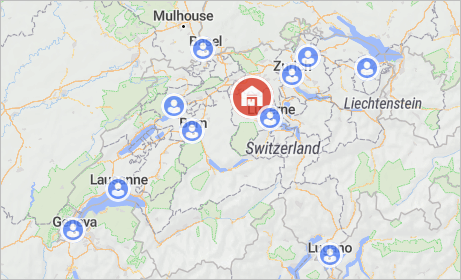
The customers and the distribution centers are currently not visually connected on the GIS map.
Observe connections
- Click the
 Show straight connections
icon to visualize paths from each distribution center to each customer.
The connections are drawn straight because the GFA experiment does not consider actual roads. Use the GFA with roads experiment if actual roads and population of the cities must be considered.
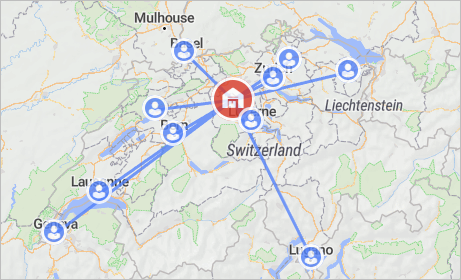
That's it, we have completed the first phase of this tutorial. We have created a new scenario, generated the required data, and found the optimal location for our distribution center.
In the second phase we will generate customers for Austria and Italy, as well as demand for each customer.
-
How can we improve this article?
-

