

The dashboard elements are added to the pages in the statistics dashboard pane.
To add a dashboard element
- In the pages list, select the page you want to add the dashboard element to.
-
Click
 Add new chart in the toolbar of the dashboard:
The dialog box with chart settings will open:
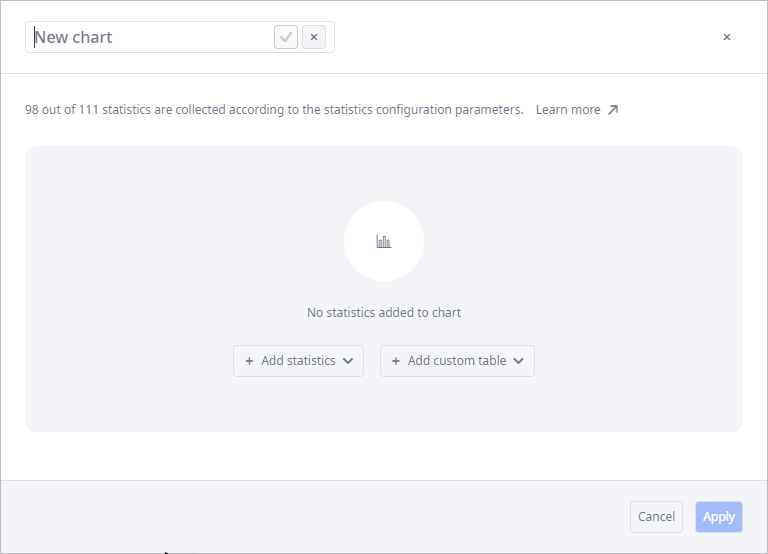
- Provide a meaningful name for the new dashboard element. If the default name is kept, the element will be automatically renamed to match the names of the statistics you add to this chart.
-
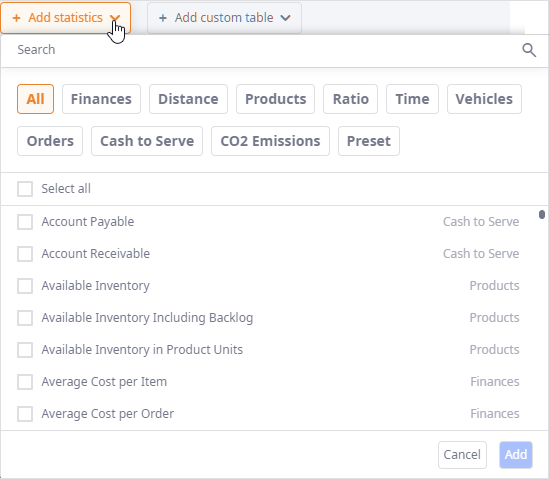
Click the Add statistics drop-down list.
-
Find the required statistics by doing either of the following:
- Type its name in the Search field.
- Filter the list by selecting the tag of the required statistics group.
- Scroll the list.
- Select all — selects all statistics from the list below.
-
Select the checkbox next to the required staitstics.
You can select multiple statistics. All the selected statistics will be visualized in one dashboard element. The Details and filters section will contain only the options that are applicable to all the selected statistics.
- Click Add. The selected statistics will be added to the dashboard element.
-
Find the required statistics by doing either of the following:
- Select the visualization method.
- Define details and filters in the corresponding section.
- Click Apply to add the dashboard element to the dashboard. To cancel adding an element and discard your changes, click Cancel or press Esc.
-
How can we improve this article?
-