

If you are starting anyLogistix for the first time:
- In the anyLogistix desktop version a default project will be automatically created.
- In the anyLogistix Professional Server the Home page will open allowing you to either select a project that has been shared with you or create a new one.
In anyLogistix Personal Learning Edition you cannot create or manage projects. You have just one project that you work with.
The scenarios that you further create are stored within this project.
If you need to separate the new scenarios from the existing ones, you may create as many projects as required.
The new project will have default parameters, i.e., no custom defined units, icons etc. will be initially available.
You can create a new project:
- On the Home page.
- In the Control Panel.
To create a new project on the Home page
-
Click the Close project button in the anyLogistix toolbar.
The Home page will open.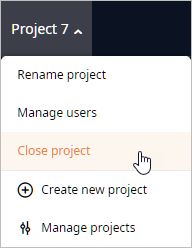
-
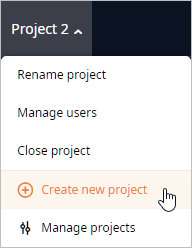
Click the
 Create project button.
The new project will be created with its tile selected by default.
Create project button.
The new project will be created with its tile selected by default.
The content of the tile differs depending on the anyLogistix edition you are using.
-
If required, rename the project by clicking its name in the project's tile, and then specifying the new one.

- Click Open to open the new project.
-
In the anyLogistix toolbar click
 and select
 Control panel.
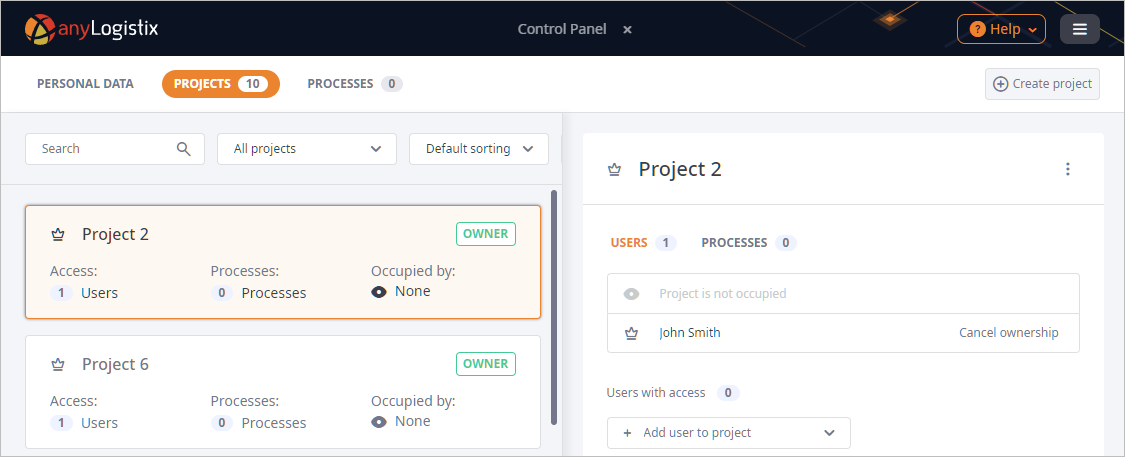
The Control Panel will open over the anyLogistix Workspace. -
In the Projects section, which opens by default, click the
 Create project button.
The new project will be created with its tile selected by default and its profile open.
-
How can we improve this article?
-