

If required, you can rename an existing project.
Administrator cannot rename projects. A user can rename a project only if this user is the owner of the project.
This can be done:
- On the Home page.
- In the Control Panel.
To rename a project on the Home page
-
Click the Close project button in the anyLogistix toolbar.
The Home page will open.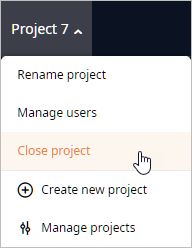
-
Hover your mouse over the name of the required project in that project's tile. The editing box will appear.
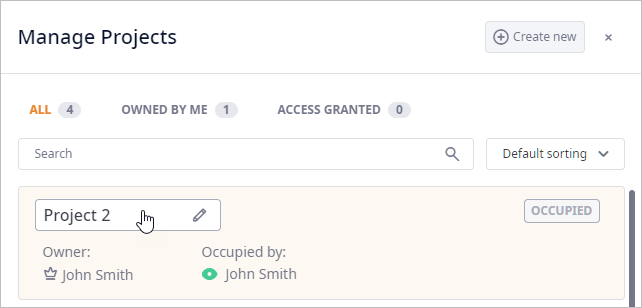
- Click the editing box to activate the editing mode.
- Specify the new name, then press Enter.
Administrator cannot rename projects. A user can rename a project only if this user is the owner of the project.
-
In the anyLogistix toolbar click
 and select
 Control panel.
The Control Panel will open over the anyLogistix Workspace. - Click the tile of the required project in the left panel. The project's profile will open in the right panel.
-
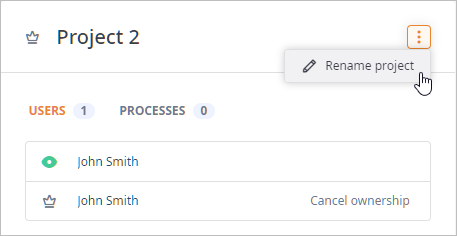
To open the Rename Project dialog box click the
 Actions
menu, then select Rename project.
Actions
menu, then select Rename project.
-
In the Rename Project dialog box click the Project name field and specify the new name.

- Finally, click Save to close the dialog box and apply the changes.
-
How can we improve this article?
-